8x8 Tool Outbuilding Construction Diagrams: Get Tactics For Building A Shed Rapidly
If your slab is square, with straight edges, you could measure from edges to lay out the building's footprint. A lean to outbuilding is a project that could be done by any amateur builder, as it doesn't require a significant expertise in the field. Now on my slab, there is a slight offset where slab goes past the edge of barn. Removing the top layer of grass or ground cover should be done first. Place a joist hanger underneath joist with big U-shape facing (https://www.shedplansz.com/12x12-lean-to-storage-shed-plans) upward and the flat flanges against wall ledger. New construction of a shed now includes how your shed would be secured to ground.
Once this is achieved, pour it into the box and repeat until you reach top of box in this case you need a length of wood. Since locating buried utilities is free, it doesn't build any sense to skip this step. Once curved braces have been cut, align them on the framework above position and mark where they need to be cut. The framing required at the intersection of two roof lines is easy to understand, however, if you're familiar with the basic framing components of a typical gable roof. Properly spacing floor trestles when framing an addition or whole structure is largely a factor of building codes.
The roof framing itself in this situation is much like any other traditional roof framing and is not complicated. The manufacturer of hangers tells you what kind of nails you must use and weight the (related site) hanger is capable of carrying. The only possible outcome is a complete disaster and a lot of wasted money. The lower half and corners were from a wrecked boat house that washed up in a storm. An open gable porch seizes that opportunity and shows off its structural skeleton. Plan everything from very beginning, if you want to get a professional result. Cut the boards long enough so that they would touch the underside of Rafter at the top and run at least 50mm below floor.
Set trusses into place and align them properly at both hands. The side drip edges, placed at the bottom of the roof should be fitted under tar paper. We recommend you to invest in the best materials you could afford. Then one board at a time using a square and a level keep making form. The parts are color coded for reference. Soggy soil would eventually swallow up foundation. Contractors chop panels in all sorts of ways as needed and then discard what they don't use, which can be a substantial amount. And in between boards if they were level while attaching.
If you choose to rent equipment, such as an auger or cement mixer, your total cost would rise. Dig holes to the depth needed for your particular soil and region. Cut to size or a porch with the extra, but any lip will lead to puddles. Since subflooring is nailed or screwed on top surfaces of joists, remove pieces of subflooring in a way that gives you access to tops of beams to nail or screw in replacement wood at joist centerlines. We used these blueprints and are up to the point of putting the roof on. After all, there's no sense in building a outbuilding to store a particular item, such as a lawn tractor or wheelbarrow, if you can't fit it through the door.
Therefore, fill holes with lumber putty and let the compound to dry out for several hours. Both ends of roof rest on top plates, so marking and cutting the rafters is easy. Don't forget that you should consult the local building codes before starting actual construction. A cathedral ceiling lacks the ceiling joists of conventional framing. Then lift the roofless cupola and position it over hole. This will throw off balance of the door enough to construct it more likely to swing closed when left unattended. So our first step is to snap a chalk line on your floor and measure off 10' on this line.
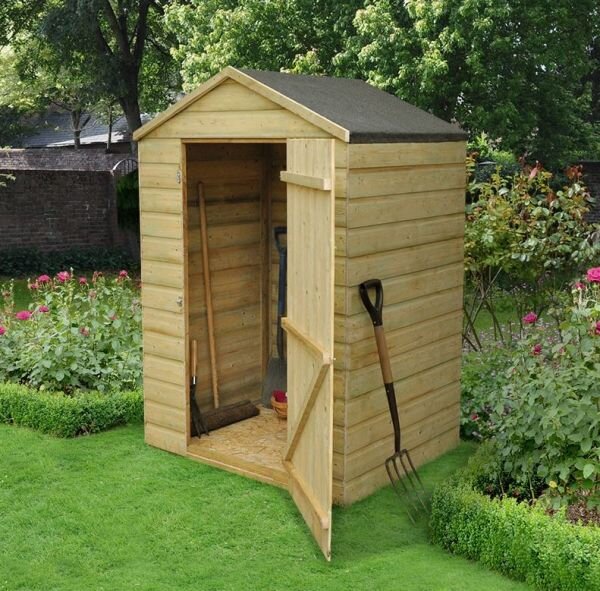
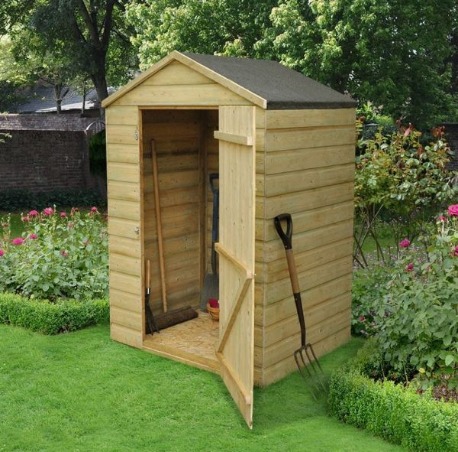
There were no valley jacks because the center front roof was a lean to type for front window. Cut the top and bottom plates to the measured length of the new wall. The outbuilding features double door, so you have a proper access with large items. These storage units could fill a 5-, 8-, 12- or 16-foot wall with freestanding cabinets with or without shelves. If you live in an area with massive precipitations, this project is ideal for your needs.